MOUNT BEAUTY WALKS
(www.northeastvictoria.online)
Great Loop East West Kiewa
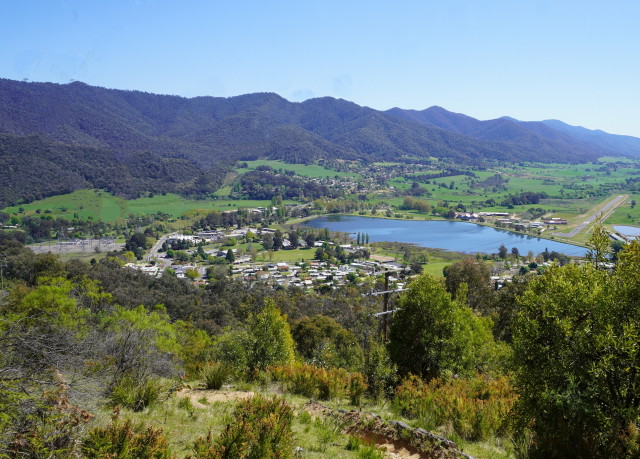
This is a multi-day high country bushwalk of about 110km, starting/finishing at Mount Beauty; the Great Loop East West Kiewa (GLEWK) route takes in Moncrieffs Gap, Mount Bogong, Warby Corner, Wallace Hut, Cope Hut, Tawonga Huts, The Fainters, Big Hill, and the West Kiewa Gorge.
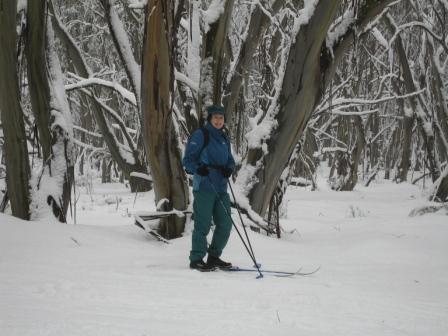
The route described here is strongly affected by deep snow from at least mid-May, to at least mid-October, and snowfalls are not unknown at any time of the year.
This description is arranged in stages, but there is no need to regard these as a fixed day-by-day itinerary. There are plenty of campsites throughout the walk, and it is easy to work out your own timing on a daily basis.
The walk starts, and finishes, within the environs of the town centre, and covers about seven days of walking in the upper valleys, and high country of the East and West Kiewa Rivers.
Given the length of the walk, a food-drop is required - logically this would be at Langford Gap, or Cope Hut, both of which have easy road access from the Bogong High Plains Road.
As well, given its duration, and complexity, the overall walk is rated as AWTGS-4.
Apart from the usual overnight camping gear, a GPS device, a mobile phone, and a formal pair of walking shoes/boots are required, as well as a set of trekking poles.
The recommended map is the Spatial Vision map sheet Bogong Alpine Area; more detailed maps are referred to in the text.
Stage 1 : Survey Track : AWTGS-2
Survey Track formed part of the original route to the Bogong High Plains in the early days of the Kiewa Hydro-electric Scheme. In the modern era, it provides an interesting start to GLEWK; as well as the great views, Survey Track is also noted for its springtime wildflowers.
Starting out from the environs of the town centre, pick up Tawonga Crescent so as to head upslope to an informal car parking area, just beyond the Golf Club.
From here, the track initially parallels the Bogong High Plains Road, but then cuts loose at a sign-posted left turn.
The signage here says "Rockpool Walking Track" and it is 600m to Mermaid Beach, 700m to The Rockpool and 800m to the carpark at the East Kiewa River crossing.
The track descends to the valley floor, with a loose surface that needs care, and once at a sign-posted "cross-roads" a left turn is required to get to the car park. However, if you have the inclination, it is a pleasant walk to the right to reach the Rockpool, and Mermaid Beach.
This detour will add about a kilometre to the overall walk.
Having reached the car park area, a wet crossing of the East Kiewa River is at hand, and this four kilometre section will have taken about an hour from the township.
The detailed map is the 1:25 000 VicMap Tawonga South (8324-4-S).
Stage 2 : Moncrieff’s Gap : AWTGS-3
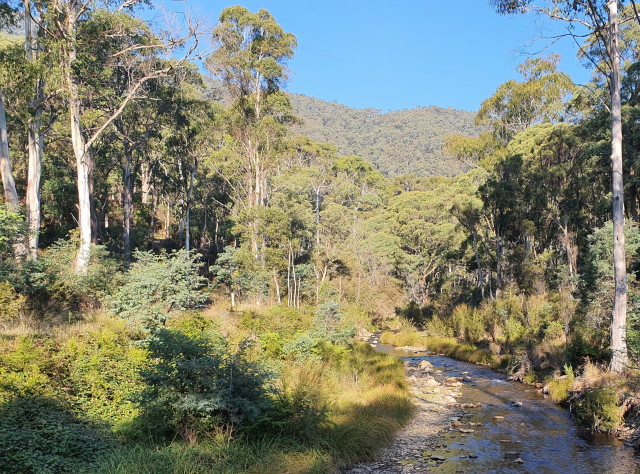
Starting out on the next section, the first objective is to cross over the East Kiewa River. There is no bridge here, just a vehicular ford (that you need to cross), and you may choose to have a spare pair of socks in your backpack.
Once over the river, take Moncrieff’s Gap Track, ignoring the track going off to the right.
As predicted from a look at the map, this is a valley perimeter walk, and the winding track follows a terrace system that overlooks the floodplain of the beautiful Kiewa River.
One of the highlights of the walk is a scenic alpine waterfall. This is about 3.8km from the end of the walk, and is at GPS reading 36.43.130 : 147.15.094.
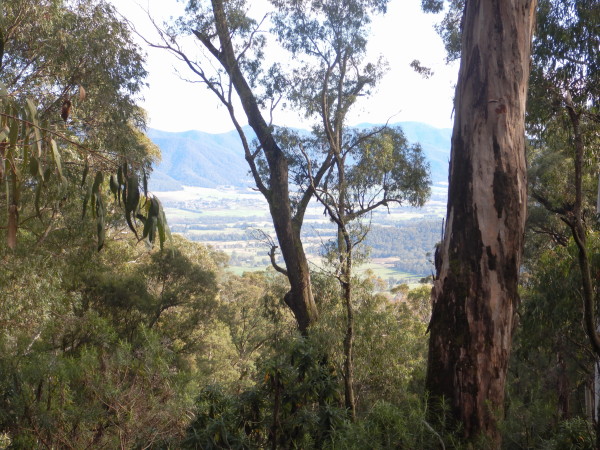
As well as this, there are many great views to enjoy, and no shortage of places to have morning tea, and lunch.
After a steep descent, the track finishes at a t-junction, and you need to swing right at this point to get to the Mountain Creek picnic area, about 100m away.
The overall time spent on this undulating section will have been about sixhours, and the distance covered about 16km.
The detailed maps are 1:25 000 VicMap Tawonga South (8324-4-S) and 1:25 000 VicMap Mitta Mitta South (8324-1-S).
Stage 3 : Mount Bogong [AWTGS-4]
This section covers about 12km, and takes about six hours.
Mount Bogong is Victoria’s highest peak (1986m) and deserves respect; the walk described here involves steep terrain, and a fair amount of time in an alpine environment that has claimed several lives in the not-too-distant past.
Walkers on this route should be well equipped, and reasonably experienced in alpine walking conditions; walking poles are highly recommended. Navigation wise, you will need a waterproof GPS (such as a Magellan Triton) and a copy of Spatial Vision Bogong Alpine Area, and the 1:25 000 VicMap Mitta Mitta South (8324-1-S).
The walk to the summit begins from the track at Mountain Creek car park, and don’t forget to fill in the intentions book before setting off!
The route described here uses the Eskdale Spur Track, and crosses Mountain Creek several times, and the base of the Staircase Spur track after about two kilometres.
Camp Creek Gap is the next landmark; much of the route to the Gap will have been on a minor vehicular track, but the last kilometre or so is on a separate walking track.
The walking track (and the vehicular track) meet up with each other at a small car parking area, and from here where a turn to the south (right) is required to pick up the signposted Eskdale Spur Track. See below for vehicular access to this point.
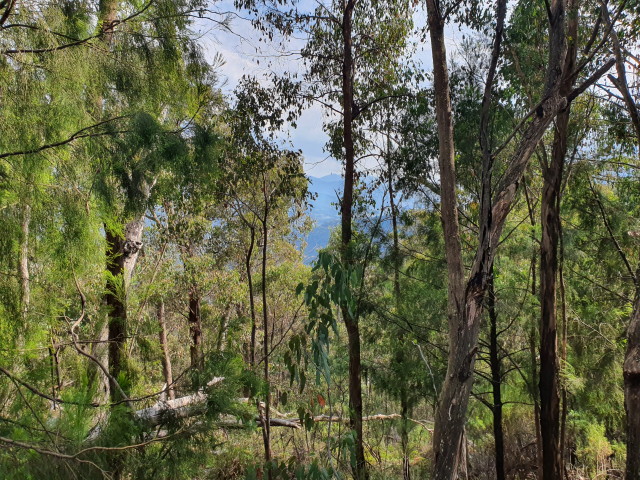
A change in vegetation confirms the messages from your thighs that you are now on the way up in life. Continue up the relentless slope (with a few flat sections), cross a stream, and then onwards, and upwards, to Michell Hut (destroyed by fire 2003, rebuilt 2004).
Once at the Hut you are at about 1600m, and the climb continues, following a snow pole route up the tree line (about 1700m) near the top of a spur.
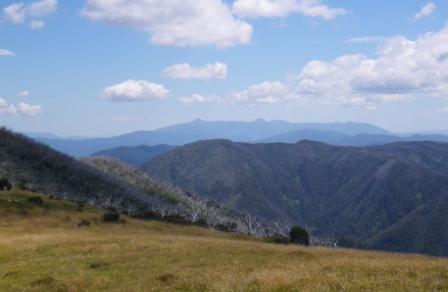
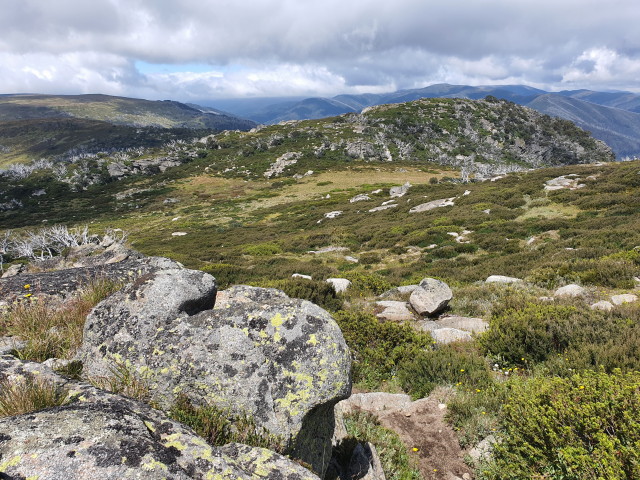
Turning right here leads through alpine meadows, following the ridge track for about 500m (past the top of Staircase Spur) to the rock cairn that marks the highest point in Victoria. There is no single best vantage point here so it is a good idea to wander around the summit area and get a few good viewpoints. On a clear day there are many excellent views of the surrounding high country, and the river valleys below.
When the pylons for the Dartmouth hydro-electric power station were being installed (in the early 1980s) there was concern about the visual impact of power pylons in pristine bushland (particularly from the top of Mount Bogong), as well as the initial impact of huge swathes of land being cleared to facilitate vehicular access for cable laying.
The visual impact of the power pylons was minimised by their careful placement, and by painting them green. Getting the cables installed was far more ingenious. Instead of clearing land between all of the pylons to lay the cables (normal practice), model aircraft were employed in many locations to fly very fine fibres between some pylons; these were then used to drag progressively larger fibres across the void, followed by ropes and then stronger ropes. Eventually, the ropes were used to pull the power cables into position.
Stage 4 : Mount Bogong to Warby Corner [AWTGS-4]
This section covers about 19km, and takes about eight hours.
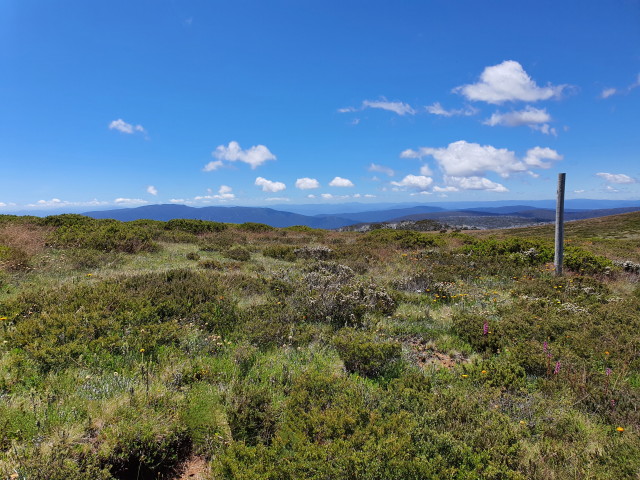
The route is now well-and-truly in the High Country, and this section leads for 19km through alpine meadows to Warby Corner.
Recommended maps, Spatial Vision Bogong Alpine Area, 1:25 000 VicMap Mitta Mitta South (8324-1-S) and 1:25 000 VicMap Falls Creek North (8324-2-N).
Whilst the route is clearly shown on the maps, not so on the ground; keep referring to the maps, and monitor your position at all times.
Heading west, and then south-west from Mount Bogong, the route follows a ridge system that helps divide the Kiewa Valley from the Mitta Mitta Valley.
This leads past the Black Saddle, and the Hooker Plateau, and then to the geologically interesting Quartz Knob (1860m).
[An off-track ‘there-and-back’ detour to the west from here leads to the scenic Bogong Creek Falls; see the detailed map.]
A steep descent now follows, leading down Quartz Ridge to the upper reaches of the Big River (that is, the Mitta Mitta River).
Keep right at the small t-junction, and then left to take the Big River Fire Trail.
This leads down to the Big River (a wet crossing, where those water bottles can be refilled) and then a winding alpine style ascent towards Timms Lookout.
The Lookout (1820m) is slightly off the main track here, and requires a short ‘there-and-back’ detour to reach.
Continuing on for about five kilometres, the route meets up with the Australian Alps Walking Track, where a right turn is required.
This now leads to Warby Corner, a further two kilometres away.
Stage 5 : Warby Corner to Cope Hut [AWTGS-3]
This section covers about 18km, and takes about seven hours.
Contining south from Warby Corner, landmarks on the way include Mount Nelse North, Mount Nelse, the turn-off to Johnstons Hut, the turn-off to Edmonsons Hut (nice camping) and the Heathy Spur Track.
Staying with the AAWT, the route leads over a ridge to meet up with the Langford East Aqueduct (built as part of the Kiewa Hydro Scheme).
Follow the aqueduct through to Langford Gap, where there is contact with the bitumen of the Bogong High Plains Road.
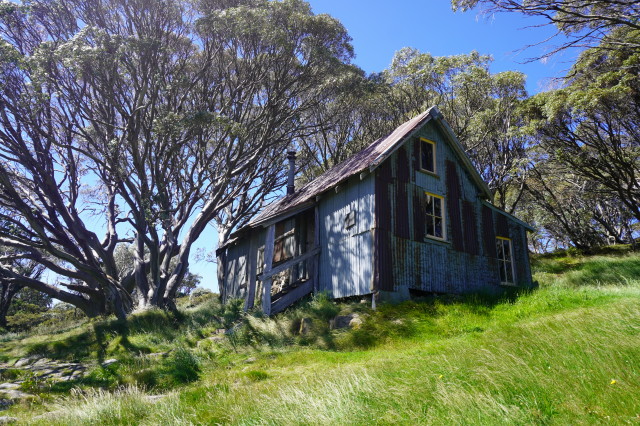
Continue to follow the AAWT, passing the turn-off to Wallaces Hut, and then coming alongside the Rover Chalet and Cope Hut.
Cope Hut also provides acceess to the Bogong High Plains Road.
Recommended maps, Spatial Vision Bogong Alpine Area, 1:25 000 VicMap Falls Creek North (8324-2-N) and 1:25 000 VicMap Falls Creek South (8324-2-S).
Stage 6 : Cope Hut to Tawonga Huts [AWTGS-3]
This section covers about 11km, and takes about five hours.
Staying with the AAWT from Cope Hut, the route leads across alpine meadows to the Cope Saddle Hut.
From here the AAWT leads upslope to Pole 333, and the turn-off to Mount Jim and Youngs Hut. Ignore this junction, and keep straight-ahead for about 1.5km to where the Fainter Fire Track goes off to the right.
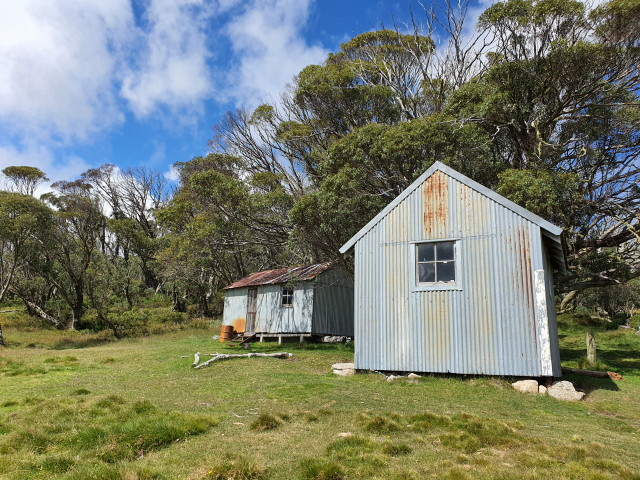
Keep straight-ahead here, and follow the route through to Tawonga Huts (great camping).
Recommended maps, Spatial Vision Bogong Alpine Area, 1:25 000 VicMap Falls Creek South (8324-2-S) and 1:25 000 VicMap Feathertop South (8324-3-S).
Stage 7 : Tawonga Huts to Bogong Jack Hut [AWTGS-3]
This section covers about 10km, and takes about three hours.
Contining north from the Huts, landmarks on the way include the turn-off to Mount Jaithmathang (1852m; see separate description under "Access Routes" "Mount Beauty - Omeo"), Mount Fainter South (1883m) and Mount Fainter North (1845m).
Both of The Fainters are a short distance to the west (left) of the walking track.
Bogong Jack Hut is located on Bogong Jack Saddle (1550m), an open area that is popular for lunch or an overnight camp. Bogong Jack Hut is a short distance north of the open area.
Recommended maps, Spatial Vision Bogong Alpine Area, 1:25 000 VicMap Feathertop South (8324-3-S) and 1:25 000 VicMap Feathertop North (8324-3-N).
Stage 8 : Bogong Jack Hut to Big Hill [AWTGS-3]
This section covers about 10km, and takes about three hours.
Continuing north from Bogong Jack Hut, take the Fainter Fire Trail as it weaves its way round to the environs of Bald Hill (1654m).
The Fire Trail now heads towards the Springs Saddle, and then it is a further three kilometres to the environs of Big Hill.
Recommended maps, Spatial Vision Bogong Alpine Area and 1:25 000 VicMap Feathertop North (8324-3-N).
Stage 9 : Big Hill to Mount Beauty [AWTGS-3]
This section covers about 10km, and takes about four hours.
Recommended maps, Spatial Vision Bogong Alpine Area and 1:25 000 VicMap Feathertop North (8324-3-N).
Once within the environs of Big Hill, the route enters the Big Hill Mountain Bike Park with its myriad trails; only a few of these are shown on topographic maps, hence a copy of the trail map is essential equipment - see the Team Mount Beauty website for details.
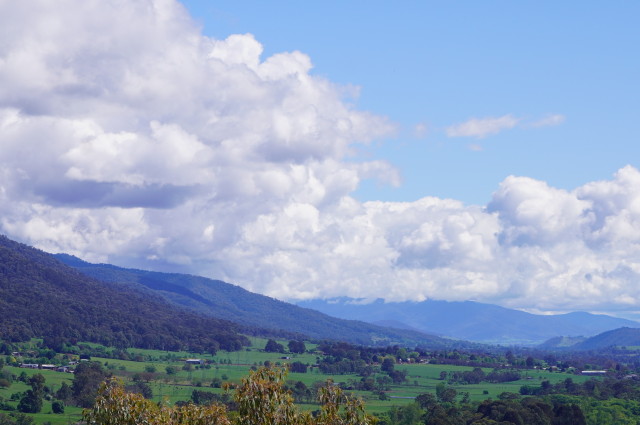
The preferred route is to follow the Big Hill Fire Trail (shown on the topo map) through to the Big Hill Lookout (great views over the Kiewa Valley).
This leads to the environs of a local peak known as Mount Beauty (not to be confused with the township of the same name).
From here, the route descends down to Pole Track, where a left turn leads to the West Kiewa Gorge access track, and then the township of Mount Beauty (see the separate description of the West Kiewa Gorge for details).
The GLEWK is now complete.
COPYRIGHT © 1995-2024, Chris McLaughlin.